Draw a zone on the map
- On the bottom of the screen, click the Create or Edit Zone button
- Click on the map to set the starting point for your zone
- Click on the map again to place the rest of the corners of your zone
- Finish the drawing by double-clicking (or pressing ENTER) on the corner that was placed on the map
For a full list of keyboard shortcuts available with this feature, please check out this article
Edit an existing zone
- Double click on the edge of the Zone that you would like to edit (click once if you are already in Zone create / edit mode)
- Click and move the corners and the extra nodes of the Zone to adjust it to your needs
- Click outside of the Zone to finish editing it
- To undo a change whilst editing, press ESCAPE: the zone will return to its original shape
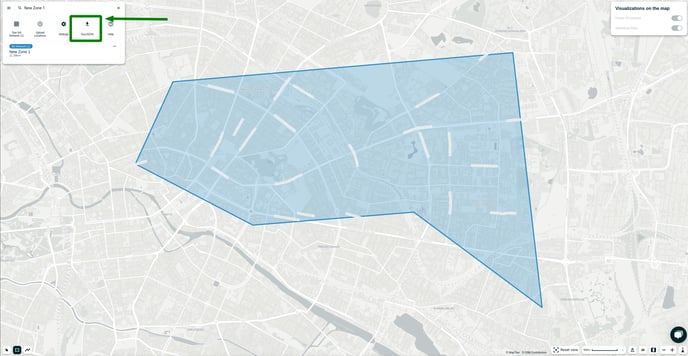
Download one or all of the zones
To download one of the zones that you created in TargomoLOOP follow these instructions:
- Select one of the zones that you created by clicking on its edge
- Click the GeoJson button on the left-bar
To download a file that contains all of the zones that you created in TargomoLOOP, you have to:
- Click the See full Network button on the left-bar
- Make sure that you are on the Zones tab
- Click the Download GeoJson button
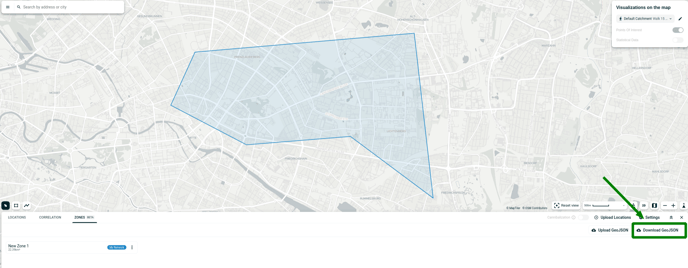
Upload zones to your project
With TargomoLOOP you can also upload zones to your project as polygons in a GeoJson file. To access this feature, follow these steps:
- Click the See full Network button on the left-bar
- Make sure that you are on the Zones tab
- Click the Upload GeoJson button
In case you are currently using a different filetype for saving your polygons, we can recommend using these converters: mygeodata aspose