Why lists?
Using lists, you can narrow your analysis to one city, one area, one real estate scenario or focus on only part of your locations for instance.
Creating lists
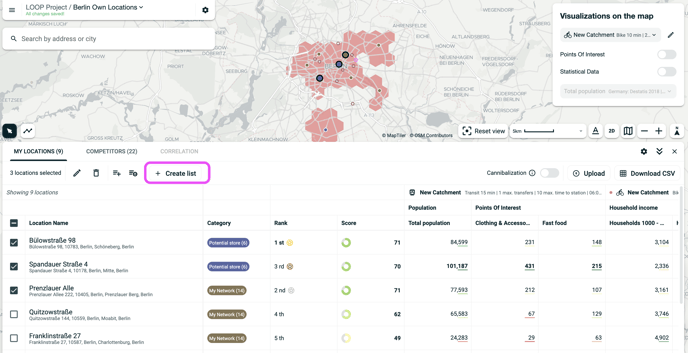
To create lists, there are two paths:
- Either filter for locations and then hit the button "create list with filtered locations"
- Or select locations on the map or on the table, and also hit the button "create list with filtered locations"
In either cases, the button is located at the top left of the table:
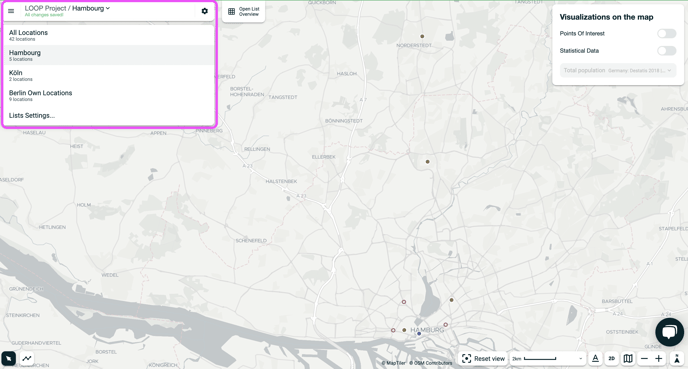
Navigating between lists
To go from one list to another, just go the navigation bar at the top of the screen. All your lists will appear. You will also have the option of going back to see all your locations by clicking on "All locations".
Managing locations within your list
You can add locations to your lists at any point, either through the table or by clicking on the map.
Simply reach to the location you wish to add, and select "Add to list". This can be done on the table or after clicking on the location.
You can also remove locations from a location at any point by selecting it and then clicking the icon "Remove location from list". This can also for several locations at the same time via the multi-selection on the table.
Please note: removing a location from a list will not delete from the network. Once a location is removed from a list, it will not be removed from other lists, nor fro the "All locations" network view.
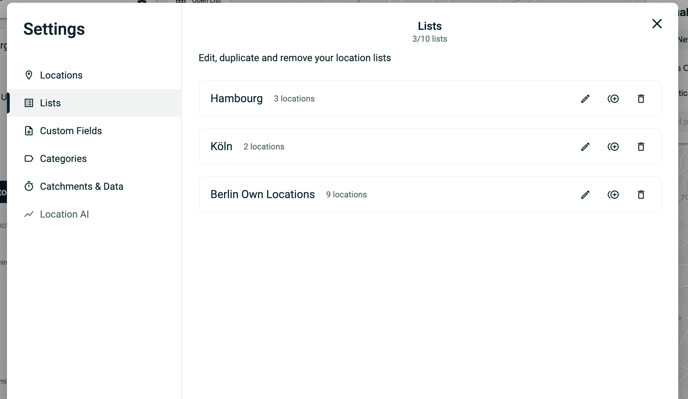
Editing, duplicating and removing lists
You can manage your list in the settings. From there, you can delete your list, edit its name or duplicate it.